Interacting with your institution/business settings
In the left hand side panel navigate to the “business settings” section and click “details”.
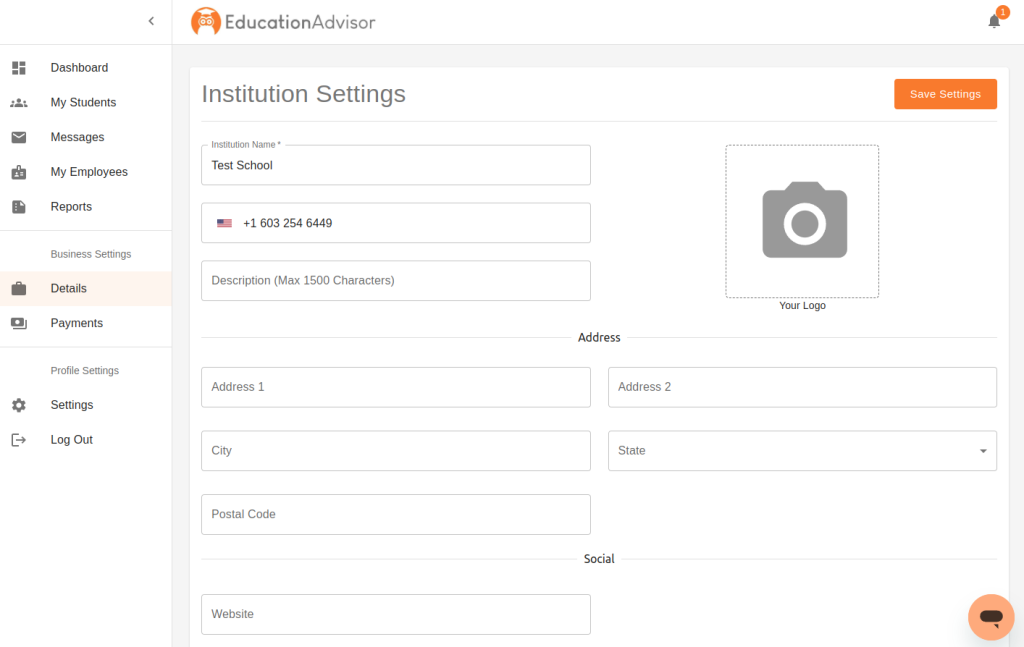
You should see a page that looks like above. In this section of the application you can:
- Institution Image: On the right hand side you should see a picture icon. By clicking it you can add in your institution logo or school logo.
- Institution Name: This is where the name of you institution goes.
- Phone: The main contact phone for your institution. It is not shown outside your profile at this time.
- Description: In 1500 characters you can describe your institution to be shown to others.
- Address: List the address of your institution. It is not shown to others at this time.
- Social: Currently you can only add your website but other social accounts will be able to appear here soon.
- Public: This section is important as it allows your employees and your institution to be advertised to students in your area. Your employees will need to opt in in their account settings.
Interacting with your account settings
In the left hand side panel navigate to the “profile settings” section and click “settings”.
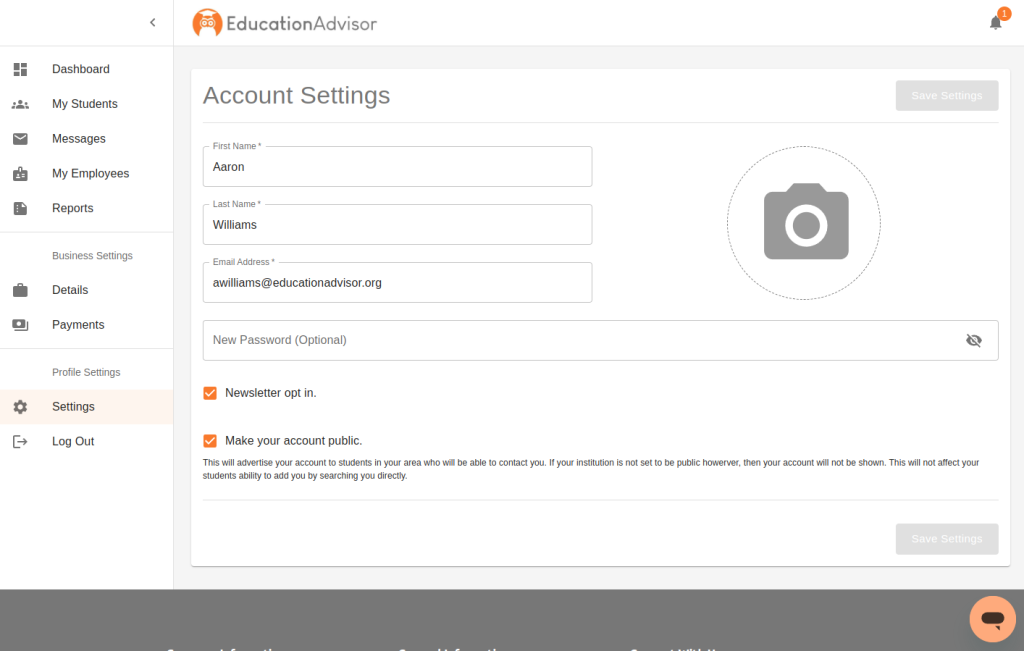
You should see a page that looks like above. In this section of the application you can:
- First Name and Last Name: Edit how you want this to appear to your students.
- Email Address: Update your login email address. You will however need to verify the new address you changed it to exists.
- Password: Update the password you use to login.
- Image: On the right hand side you can add your profile image so students can recognize you.
- Newsletter: Opt in and out of newsletters. This does not stop in application notifications.
- Make your account public: This allows you to have your profile be shown to students in your area.